Removing the 7350 (R5) Tri-Light/Lane Light Assembly and Pole
To remove the 7350 (R5) Tri-Light/Lane Light assembly and pole, follow these steps:
Note: This procedure provides instructions for removing the R5 Tri-Light/Lane Light during a full upgrade to an R6 Lite configuration. To upgrade only the R5 Tri-Light/Lane Light in an existing R6 Lite unit, refer to the 7350-K971 R6 Tri-Light/Lane Light Upgrade kit instructions.
1.Turn off the NCR SelfServ Checkout software and hardware systems. For more information, refer to the following sections:
•Turning Off the Software System.
•Turning Off the Hardware System .
2.Open the Upper Cabinet Door. For more information, refer to Opening Upper Cabinet Door.
3.Remove the scanner from the unit and then set aside.
4.Remove the E-Box, if not yet removed. For more information, refer to Removing the E-Box.
5.Disconnect the Tri-Light/Lane Light power cable from the power strip located underneath the bag scale or takeaway belt.
Note: For units without bagging options, the Power Strip is located behind the back panel.
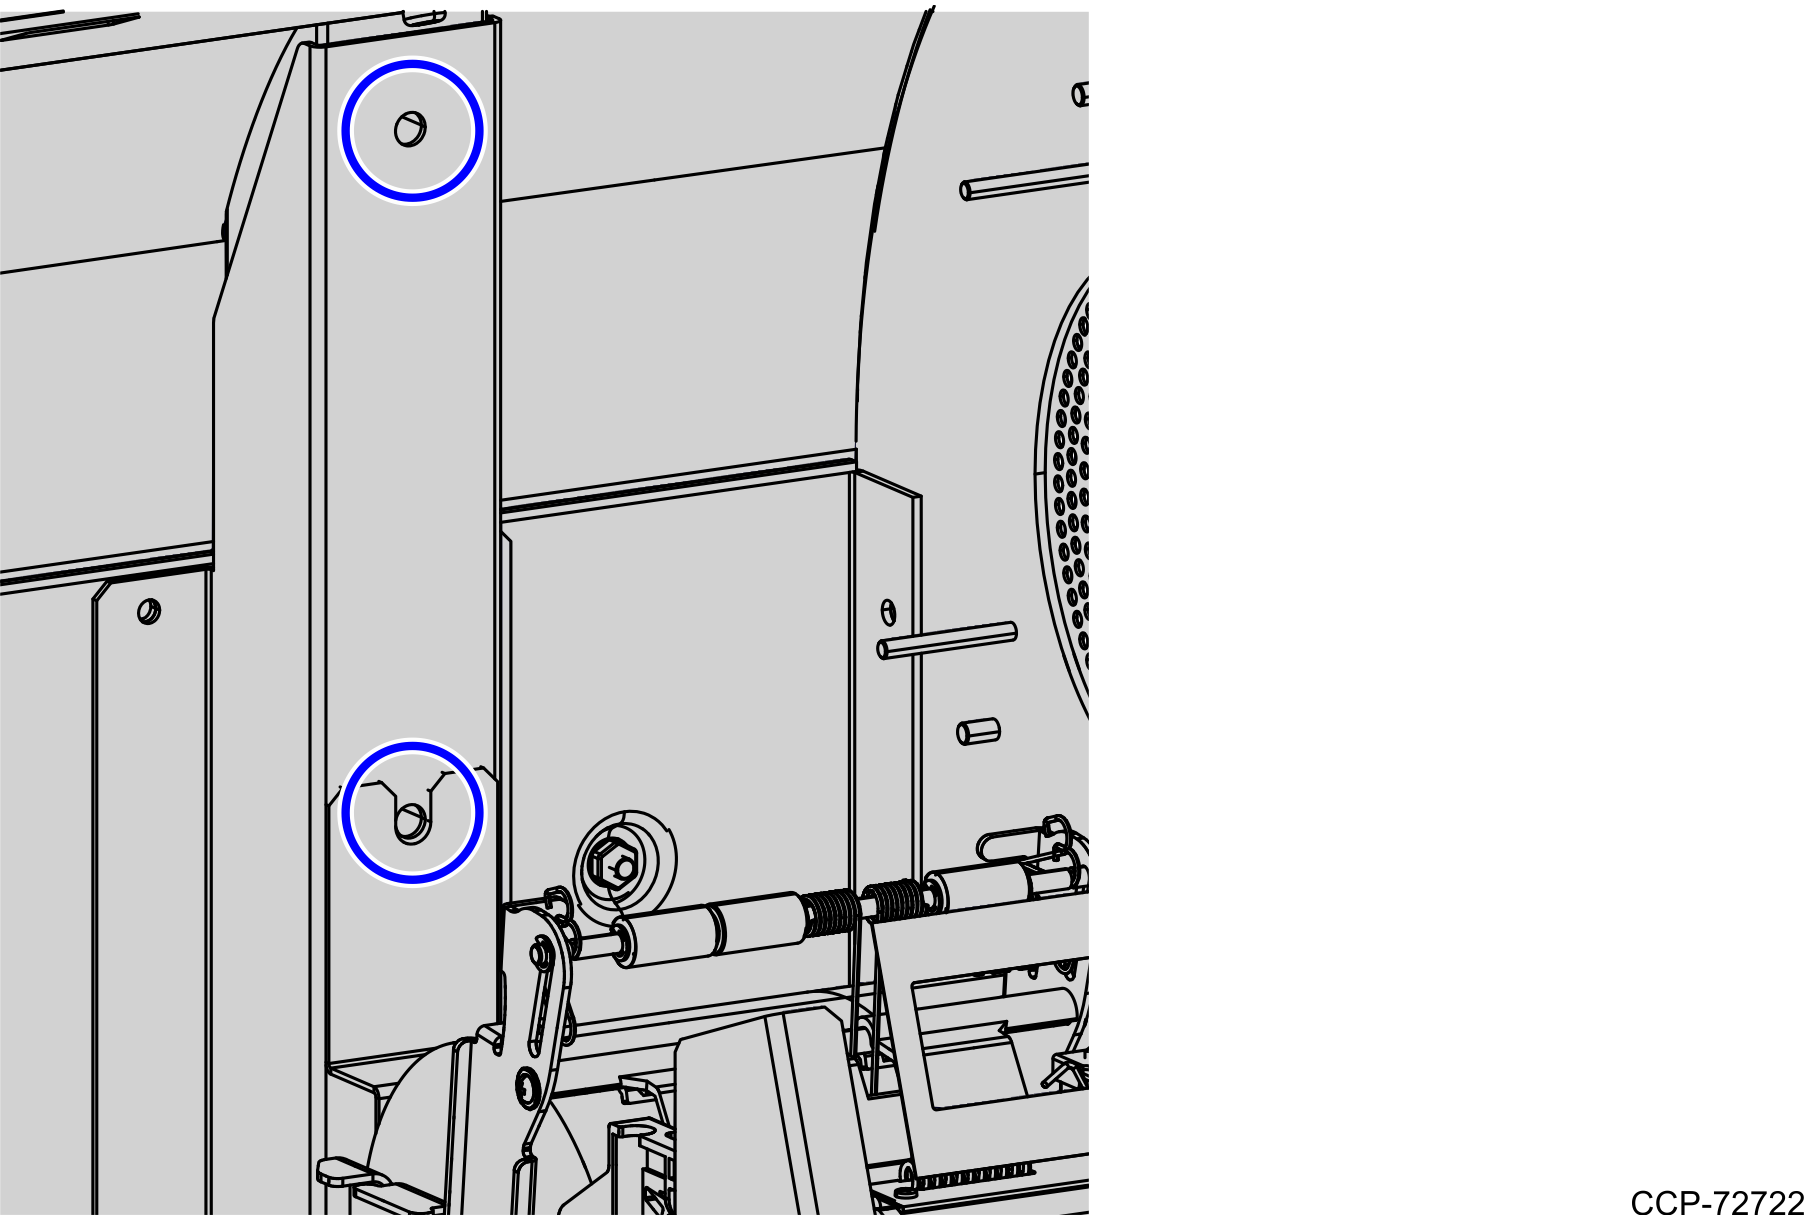
6.Remove two screws securing the pole to the unit.
7.Remove the back panel cover from the unit.
8.Pull out the power cable from the bagwell and the communication cable from the upper cabinet in order to easily remove the Tri-Light/Lane Light Assembly and Pole.

9.Carefully lift the Tri-Light/Lane Light assembly and pole out of the unit.
10.Install the R6 Lite Tri-Light/Lane Light Pole. For more information, refer to Installing the 7360 Tri-Light/Lane Light Pole (Optional).