Removing the E-Box
To remove the E-Box from the NCR SelfServ Checkout, follow these steps:
1.Turn off the NCR SelfServ Checkout software and hardware systems. For more information, refer to the following sections:
•Turning Off the Software System.
•Turning Off the Hardware System .
2.Open the Upper Cabinet Door. For more information, refer to Opening Upper Cabinet Door.
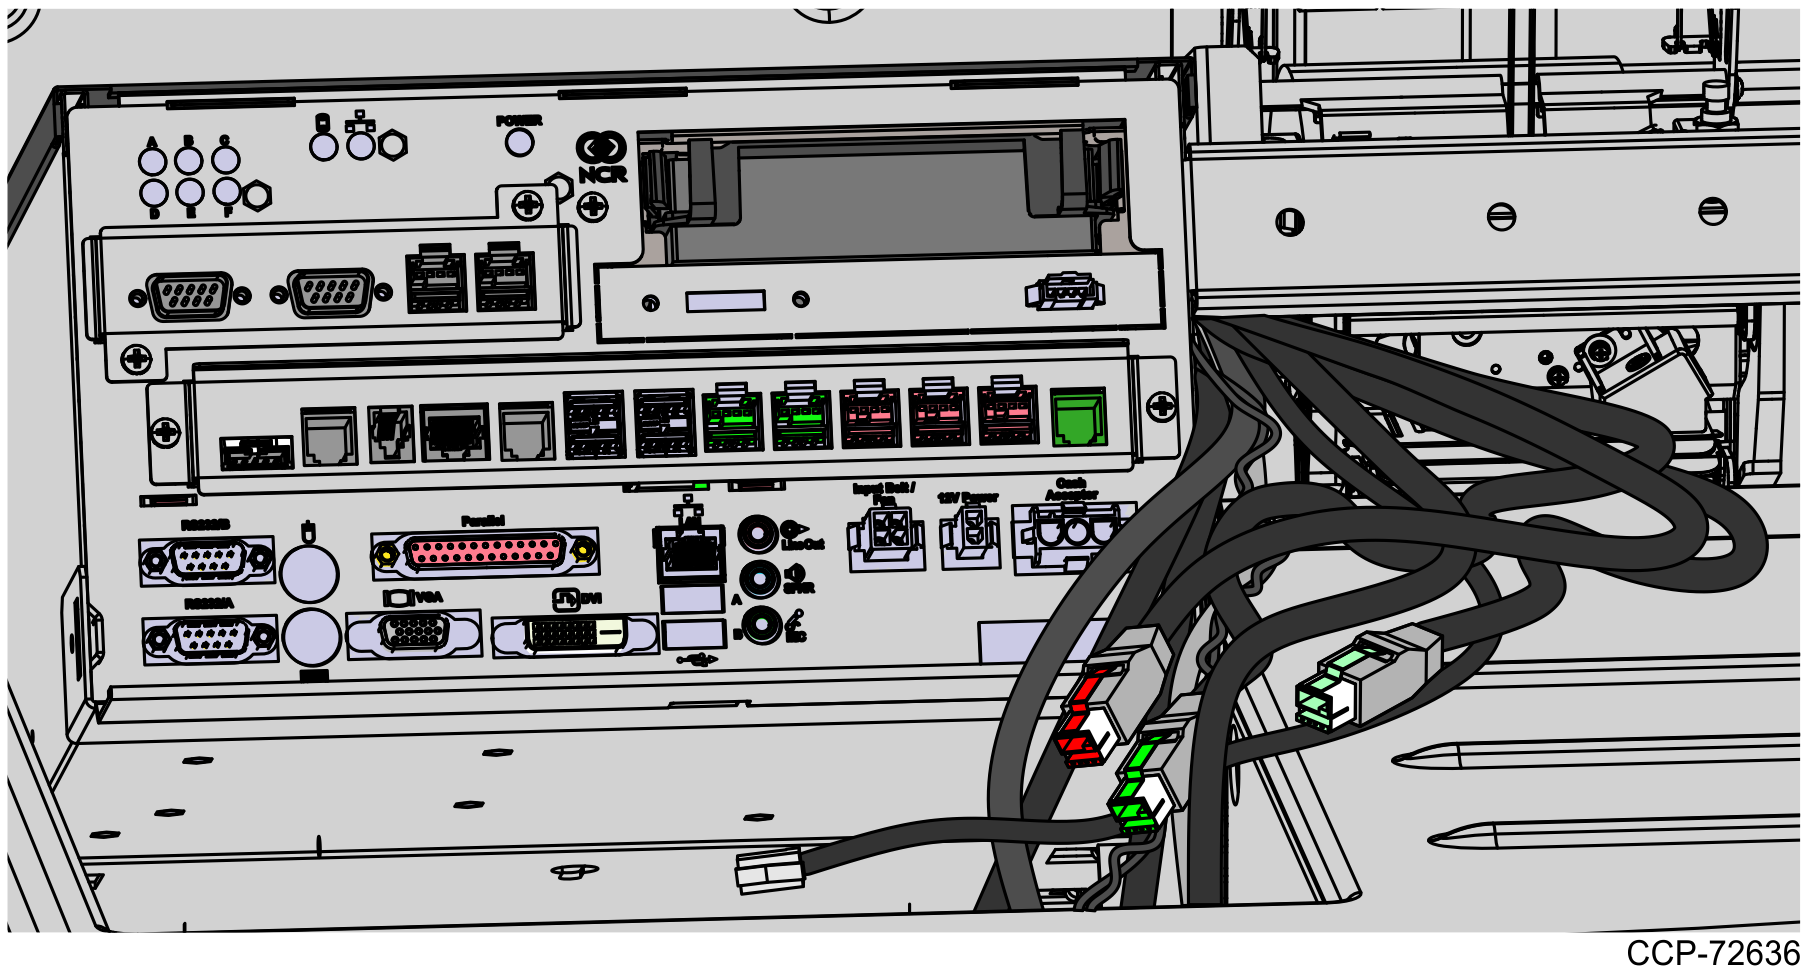
3.Remove the Scanner and disconnect cables from the E-Box and other devices.
4.Set the Scanner Scale aside.
5.Remove two nuts and one screw securing the E-Box to the E-Box Bracket, as shown in the image below.
Note: If the E-Box underwent maintenance, the nuts may no longer exist.

6.Tilt the E-Box Bracket forward to easily access the cables.
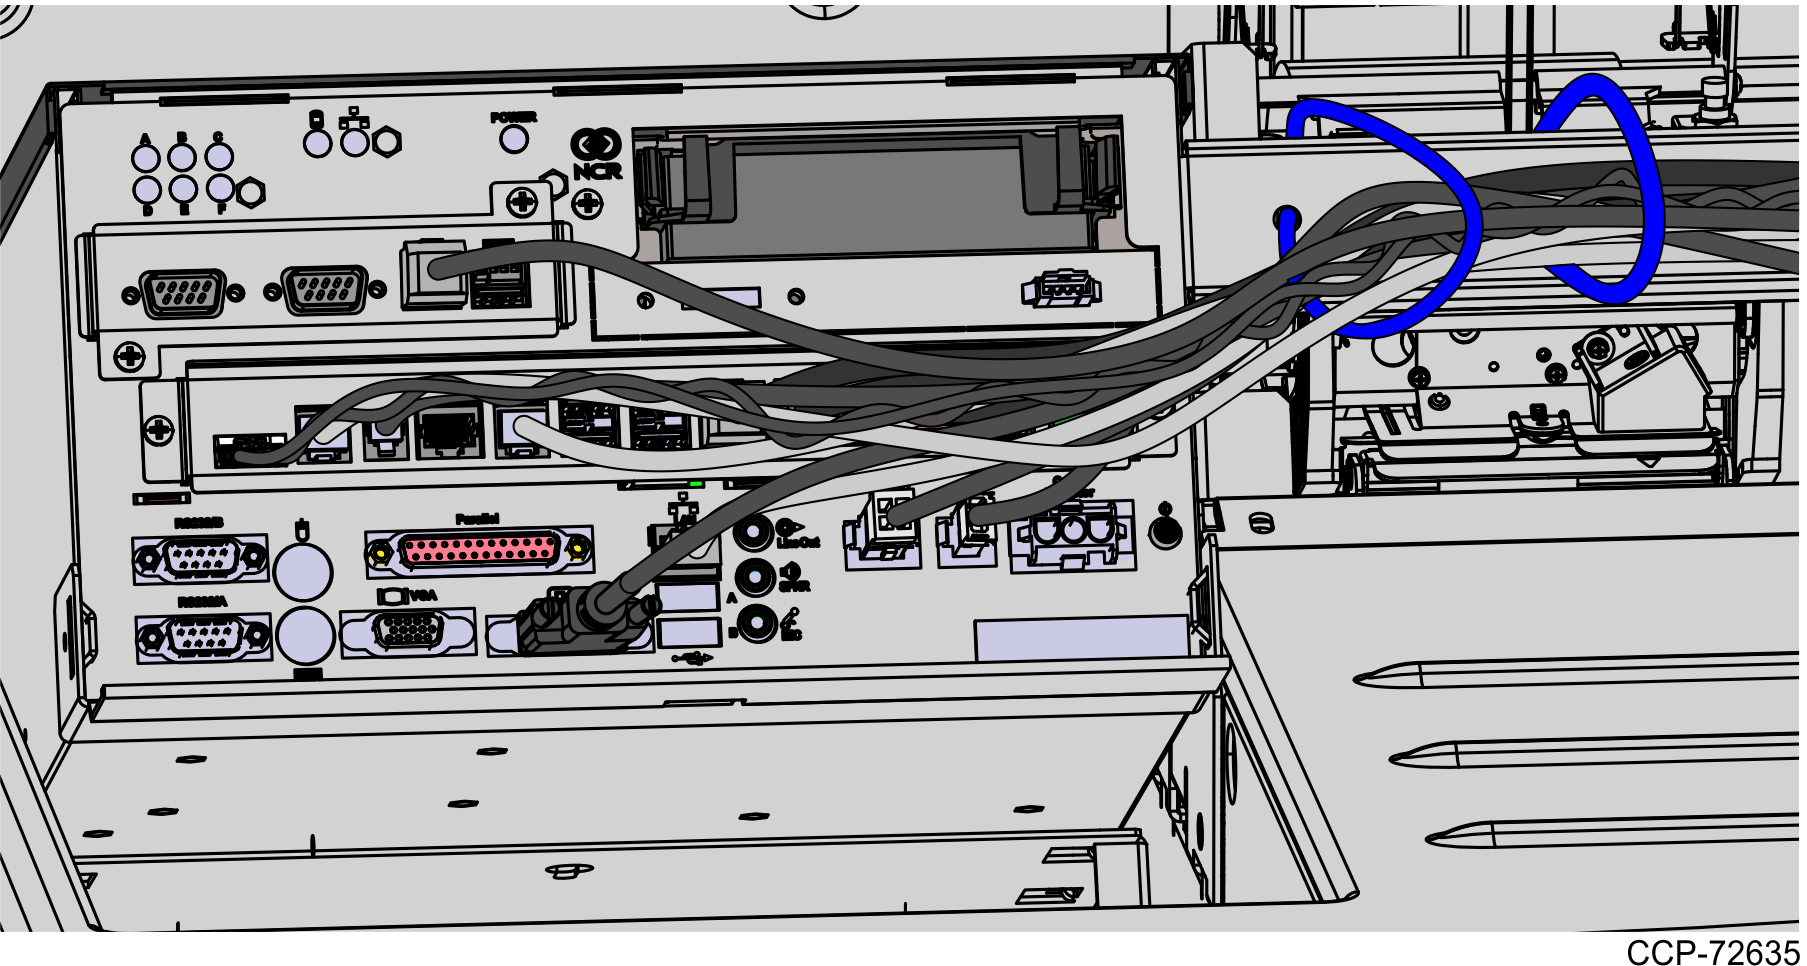
7.Disconnect all cables including the power cable on the back of the E-Box.
Tip: Before disconnecting all cables from the E-Box, mark all cable connections as to where they are plugged into the device they were connected. This is to determine where to plug that device into the E-Box when installing the E-Box.
8.Slide the E-Box forward to disengage the clips and then lift the unit off the bracket and out of the NCR SelfServ Checkout unit.