Linking items to a gift registry
Associates can use the POS application to link items in an ongoing sales transaction with the recipient's gift registry list.
Configurable features
The POS application can be configured with the following features.
- Set the following gift registry functions:
- Determine the Information Set used on the Gift Giver Information screen.
- Disable the send option in the gift registry flow.
- Skip the gift wrap selection. By default, gift wrap selection is part of the gift registry flow when sending items to the registrants.
- For more information, refer to Gift Registry Setup.
- Specify which information is collected, required, and optional about the gift giver and gift recipient. For more information, refer to Information Form Definitions.
- Display a confirmation screen after entering the recipient information when sending gift registry items. For more information, refer to Item Services.
To link items to the gift registry after a successful lookup, follow these steps:
- Add items to a sales transaction.
- On the Sale Main Menu screen, do one of the following:
- Scan the gift registry bar code.
- Look up a gift registry. For more information, refer to Looking up a gift registry.
- On the Gift Registry Search Results screen, select the gift registry to be used for the transaction, and then select Continue. The application displays the items to be purchased on the Gift Registry Item Selection screen.

Select each item corresponding to the gift registry or select Select All to add all the items to the gift registry.
The application displays a check mark next to the selected items.
 Note
NoteTo remove a check mark, select the item again.
- Select Continue. The application displays the Gift Giver Information screen.

Enter the customer's personal information. Alternatively, perform a customer lookup if the gift giver is a loyalty member. For more information, refer to Looking up a customer. The application displays the member’s information on the screen.
- Select Accept. The application displays the Gift Wrap screen.

- Select the items to be gift-wrapped. The application displays a check mark next to the selected items.

- Do one of the following:
- Select one or more items, and then select a gift wrapping style. Repeat this step to apply separate gift wrapping styles to the other items.
- Select Select All, and then select one gift wrapping style to apply to all of the items in the transaction.
The gift wrapping style is displayed next to the selected items.

- Select Done. The application displays a message asking if the gift items should be shipped to the registry owner.
- Do one of the following:
- Select Yes to ship the selected items to the gift recipient. For more information about sending registry items, refer to Sending gift registry items.
- Select No. The application redisplays the Sale Main Menu screen. Complete the transaction.
Sample receipts
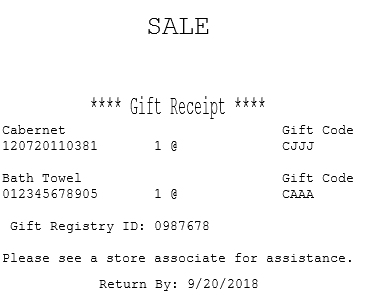
The application automatically prints one gift receipt for all items in each gift registry sale. The gift registry gift receipt is not affected by other gift receipt parameters.
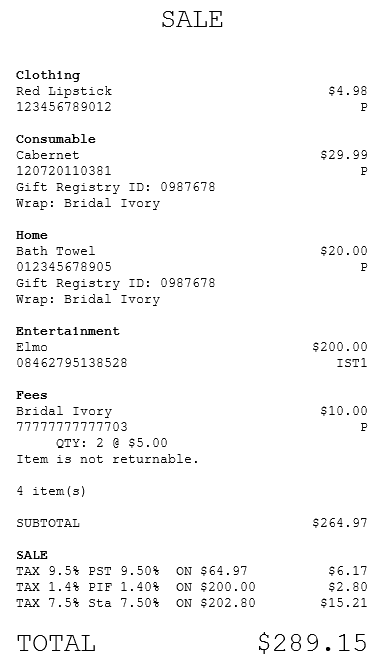
The following image shows a sales receipt with gift-registry items and gift-wrap selections.