Generating the receipt in printed format
Device printers must have already been set up and pre-configured before launching the POS application. By default, the receipt printer connected to the POS terminal prints the POS terminal’s transaction receipts.
Configurable features
The POS application can be configured with the following features.
- Define the printers that are available in the store network. Refer to the following option:
- Receipt Printing > Available Network Printers
To generate a receipt in printed format, follow these steps:
- From the Tender Menu screen, select a payment method.
- Select or enter a cash tender amount. The application displays the Receipt Preference screen.
- From the Receipt Preference screen, select Printed. The application prints the receipt and displays the Change Due screen.
- Close the cash drawer. The application displays the Sale Main Menu or the Transaction Types screen.
Printing receipts from preferred printers
Depending on the available printers and the specified configuration in the POS device manager, available printers can print queued printing jobs from any POS terminal in the store. By default, the printer connected to the POS terminal where the transaction is processed is the designated print server. If this printer is busy or unavailable, the receipt can be printed from another printer.
To print receipts from preferred printers, follow these steps:
- From the Tender Menu screen, select a payment method.
- Select or key in a cash tender amount. The application displays the Receipt Preference screen.
- From the Receipt Preference screen, select Printed. The application displays the Printer Preference screen.
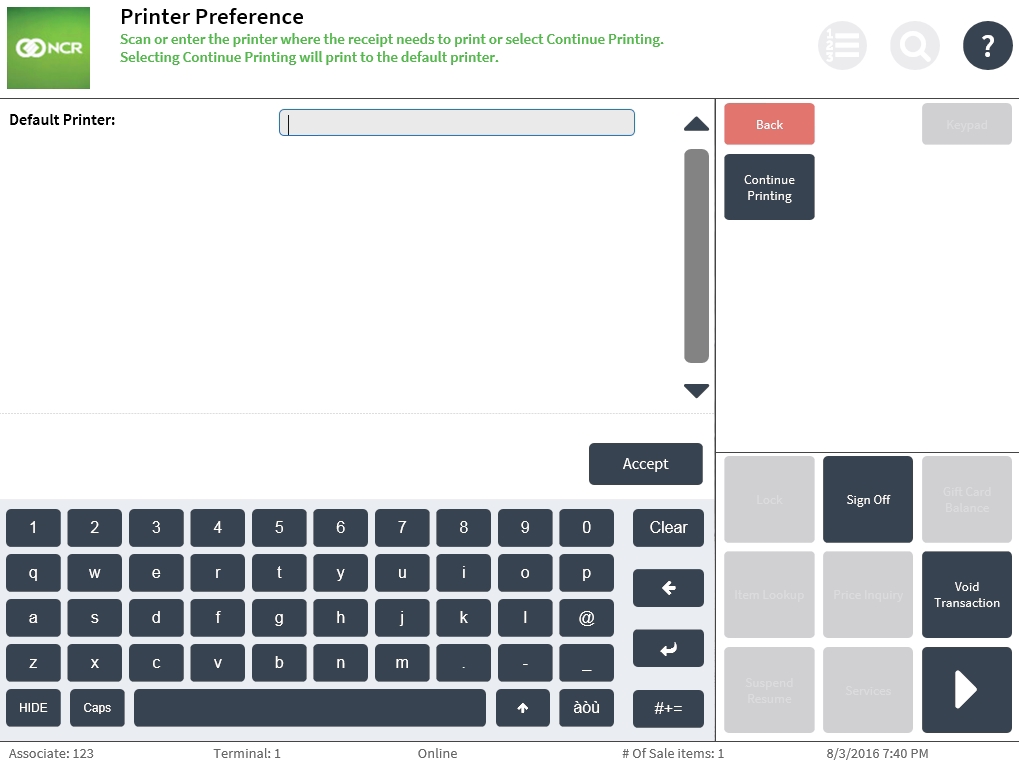
- Do one of the following:
- Scan the bar code of the preferred printer.
- If known, enter the printer name of the preferred printer.
- Select Continue Printing. The application prints the receipt.
- Close the cash drawer. The application displays the Sale Main Menu or the Transaction Types screen.