Running the NCR RabbitMQ Setup utility
Use the NCR RabbitMQ Setup Utility to configure RabbitMQ. This utility performs three tasks:
- Enables the RabbitMQ plugins, such as Shovel
- Creates the RabbitMQ infrastructure (exchanges and queues)
- Creates the rabbitmq.conf file
This utility will be run twice. The first time, supply the location for the Rabbit Plugin XML file in the Configuration File field. The second time, supply the location of the Enterprise Setup XML file in the same Configuration File field.
Before running this utility, the session timeout for the RabbitMQ Management webpage can be specified. For more information, refer to Specifying the timeout value using the rabbitmq.conf.template file.
To run the NCR RabbitMQ Setup utility, follow these steps:
- Go to the directory where the POS is installed:
%PROGRAMFILES%\NCR\Advanced Store\POS.
- Right-click Ncr.Retail.Platform.RabbitMQ.SetupApplication.exe and select Run as administrator. The application displays the NCR RabbitMQ Setup window.
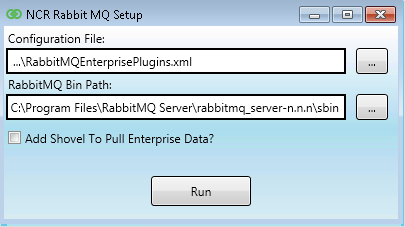
- Use the following table to enter the values in the NCR RabbitMQ Setup window.
Field name Description Example Configuration File Enter the path of the NCR RabbitMQ Enterprise Plugin configuration
file.
%PROGRAMFILES%\NCR\AdvancedStore\POS\RabbitMQEnterprisePlugins.xml
RabbitMQ Bin Path Enter the path of the RabbitMQ Server bin folder. %PROGRAMFILES%\RabbitMQ Server\rabbitmq_server-n.n.n\sbin - Select Run. The application displays a Command Prompt window and runs the command.
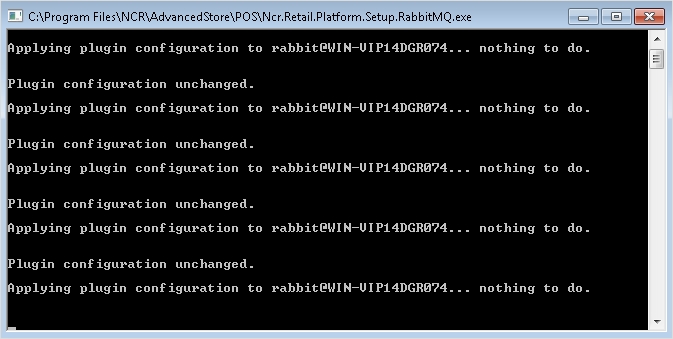
When the application completes the command, the Command Prompt window closes. The NCR RabbitMQ Setup window is displayed again.
NoteIf the system speed significantly decreases after this task, refer to System slows down after enabling RabbitMQ Enterprise plugins for troubleshooting information.
- In the Configuration File field, change the path to specify the path of the RabbitMQ Store Setup configuration file.Example
%PROGRAMFILES%\NCR\AdvancedStore\POS\RabbitMQStoreSetup.xml
NoteLeave the existing value in the RabbitMQ Bin Path field.
- Select the Add Shovel To Pull Enterprise Data check box. The application displays the Enterprise Information fields on the bottom half of the same screen.
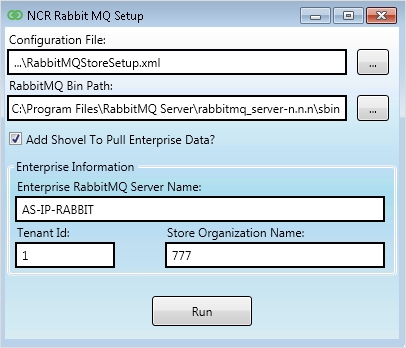
- Use the following table to enter the Enterprise Information in the NCR RabbitMQ Setup window.
Field Description Enterprise RabbitMQ Server Name Specifies the full domain name of the Enterprise Messaging Server. This server is the machine where the RabbitMQ Server application is installed at the enterprise. Tenant Id Identifies the number assigned to an organization that shares the same data.
NoteBy default, the Tenant Id value is 1. Use this value unless otherwise directed.
Store Organization Name Specifies the store number where the POS terminal is located.
NoteThis field requires a numeric value.
- Select Run. While the command is running, the application displays a Command Prompt window. The Command Prompt window closes automatically and the NCR RabbitMQ Setup window is displayed.
- Close the NCR RabbitMQ Setup window.