Enabling the Customer Information Display screen
The Customer Information Display (CID) screen can be displayed on a Web browser and on a secondary display monitor connected to the POS terminal.
The following is a sample image of a CID screen displayed in a Web browser.
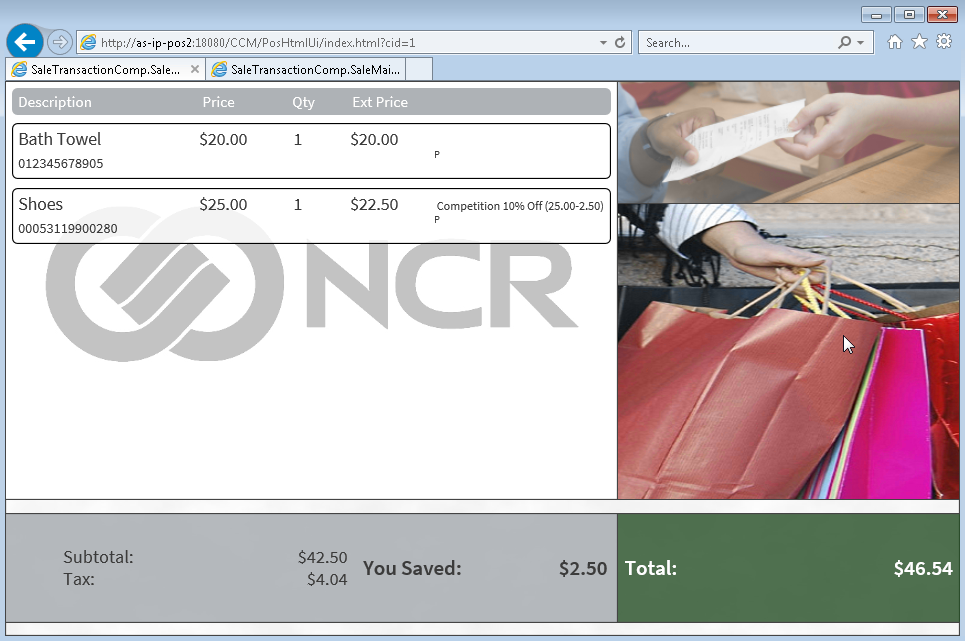
By default, the POS application is enabled to display the CID screen on a Web browser when using the HTTP security protocol. To access the CID screen on a Web browser, enter the following URL in the browser window:
http://<IP address of the POS>:18080/CCM/PosHtmlUi/index.html?cid=1
Enabling the CID screen when using HTTPS
When AS is installed using the HTTPS installation option, the POS should be configured to enable the CID screen.
This task uses the following files.
| File name | Location (POS terminal machine) | |
|---|---|---|
| 32-bit OS | 64-bit OS | |
| UiManager.CIDConfig.xml | %PROGRAMFILES%\NCR\AdvancedStore\POS\HtmlPsxClient\config | %PROGRAMFILES(X86)% \NCR\AdvancedStore\POS\HtmlPsxClient\config |
| NextGenPOSLauncher.xml | %PROGRAMFILES%\NCR\AdvancedStore\POS | %PROGRAMFILES(X86)% \NCR\AdvancedStore\POS |
To configure the CID screen when using the HTTPS security protocol, follow these steps:
- Close the POS application.
- Open the UiManager.CIDConfig.xml file using a text editor.
- Locate the WebSocketUrl <Config> element.Example
<Config name="WebSocketUrl" value="ws://localhost:5150/"/>
- Change the communications protocol from “ws” to “wss”.Example
<Config name="WebSocketUrl" value="wss://localhost:5150/"/>
- Save and close the file. The edited file will look similar to the following sample image.

- Open the NextGenPosLauncher.xml file using a text editor.
- Locate the following elements:
- <CIDBrowserToLaunch>
- <CIDBrowserCommandLine>
- Remove the comment marks from the specified elements.
- Replace the <CIDBrowserToLaunch> element value with the following value.
%ASPOS%\Ncr.As.PosUI.exe
- Locate the <CIDBrowserCommandLine> element.
- Change the security protocol from “http” to “https”.Example
<CIDBrowserCommandLine>
https://localhost:18080/CCM/PosHtmlUi/index.html?cid=1 0 1024 1024 768
<CIDBrowserCommandLine>
- Save and close the file. The edited file will look similar to the following sample image.

- Verify the configuration. Start the POS application and enter the following URL in a browser window:
https://<IP address of the POS>:18080/CCM/PosHtmlUi/index.html?cid=1
Enabling the CID screen on a secondary monitor
To enable the CID screen on a secondary monitor, a secondary monitor must be connected to the POS terminal as an extended view.
This task uses the following file.
| File name | Location (POS terminal machine) |
|---|---|
| NextGenPOSLauncher.xml | %PROGRAMFILES%\NCR\AdvancedStore\POS |
To enable the CID screen on a secondary monitor, follow these steps:
- Close the POS application.
- Open the NextGenPosLauncher.xml file using a text editor.
- Locate the following elements:
- <CIDBrowserToLaunch>
- <CIDBrowserCommandLine>
- Remove the comment marks from the specified elements.
- Replace the <CIDBrowserToLaunch> element value with the following value.
%ASPOS%\Ncr.As.PosUI.exe
- Configure the CIDBrowserCommandLine element value with the screen resolution property of the secondary monitor. The value is distributed into five positions. Use the following image and table to determine the correct value for each position.

Position Description Position 1 Refers to the URL address which the secondary screen uses to display the Customer Information Display screen. Each POS terminal has a different value for this position.
NoteIf AS was installed with the HTTPS option, change the security protocol from “http” to “https”.
Position 2 Determines at which pixel point the secondary display will open. The default value for this position is 0 (zero). This value indicates that the display will open on the zero pixel line which is the bottom-left and at the start of the pixel width of the POS screen.
Important Do not modify this value.Position 3 Determines the width of the POS screen in pixels.
NoteThis value should match the value listed in the <BrowserCommandLine> element displayed above it.
For more information about changing the POS Terminal screen resolution, refer to Configuring the POS terminal screen resolution.Position 4 Determines the width of the secondary display screen in pixels. Position 5 Determines the height of the secondary display screen in pixels. - Save and close the file. The edited file will look similar to the following sample image.Example
In the following sample configuration, the POS screen width is set to 1024px, while the width and height of the connected secondary display is 1600px and 900px respectively.

- Verify the configuration. Start the POS application and check that the CID screen is properly displayed on the secondary monitor.