Updating the scanner sound through a flash drive
To update the scanner sound using a flash drive, follow these steps:
- Launch the Scanner Wizard. For procedures, refer to the Launching the Scanner Wizard.
The application displays the Scanner Wizard main window.

- Select Configure Settings. The application displays the following window.
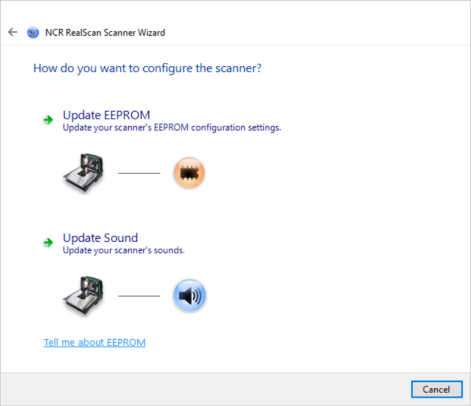
- Select Update Sound. The application displays the following window.
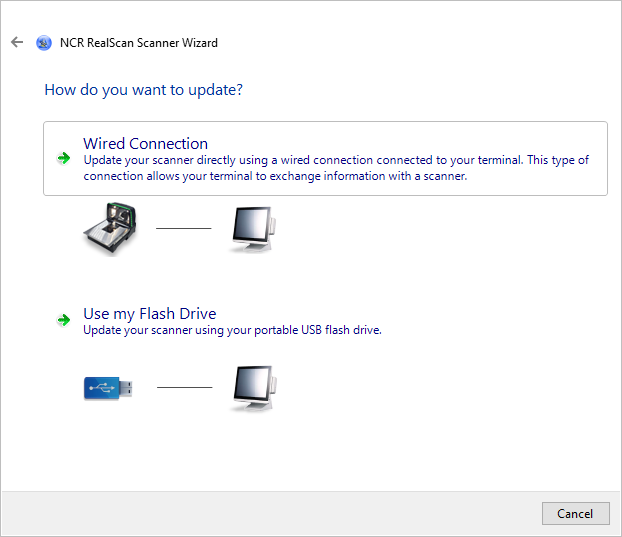
- Select Use my Flash Drive. The application displays the following window.
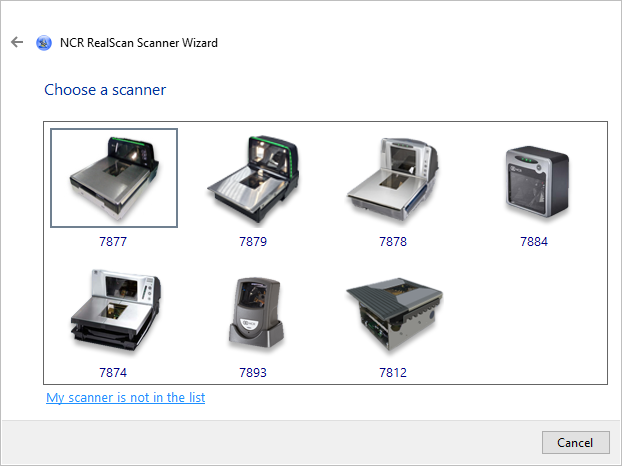 Note
NoteIf the scanner is not listed, select My scanner is not in the list. The application directs the user to the Supported Scanners section of the Scanner Wizard help file.
- Select the scanner that is connected to the terminal, and then select Yes on the message prompt. The application validates bin files from flash tool directory for the selected scanner, and then displays the list of sound binary files.
 Note
NoteIf the binary file is not listed, select I can’t find the binary in the list, and then browse a valid binary file to add it to the list.
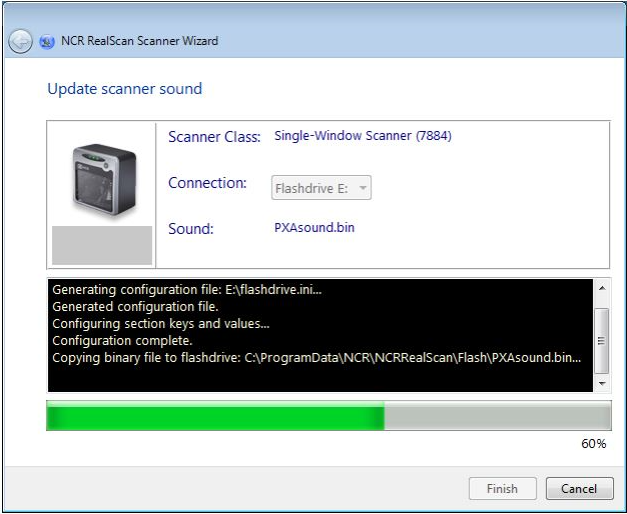
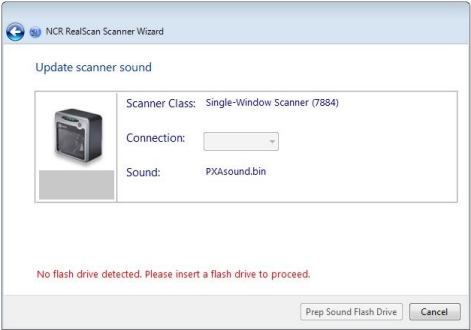
- From the list, select the sound binary file, and then select Next. The application displays the following window.

- To start preparing the flash drive, select Prep Sound Flash Drive. The application starts preparing the flash drive and then copies the sound binary file to the flash drive. The application shows the task progress.
 Note
NoteIf no flash drive is detected, an error message appears on the bottom part of the window. Insert a flash drive or check if the flash drive is properly inserted.
- If the task is successfully done, the application shows a message with green background.
- To exit the task and go back to the Scanner Wizard main window, select Finish.
- To view the log file, select View flash drive.
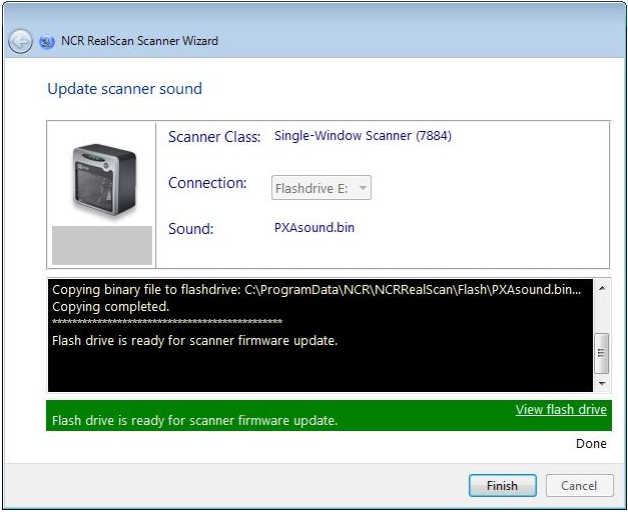
- If the task is successfully done, the application shows a message with green background.
